
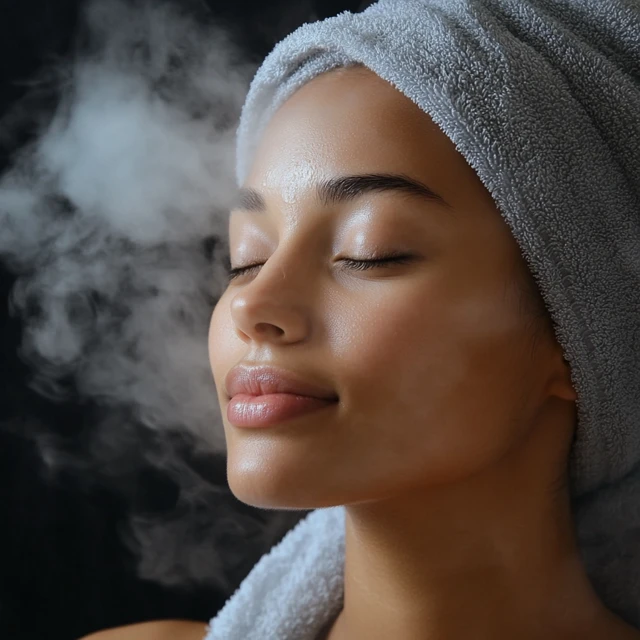
Looking for a spa-like glow without leaving your home? Enter: facial steaming—a timeless skincare ritual that opens up your pores, boosts circulation, and helps your products work better.
But hold up—while facial steaming can transform your routine, doing it wrong can lead to irritation, redness, or even breakouts. This guide covers everything you need to know, from benefits to exact steps, plus common mistakes to steer clear of.
💨 What Is Facial Steaming?
Facial steaming is the process of exposing your skin to warm steam—usually from water, infused herbs, or essential oils—for a short period. It helps loosen dirt and oil trapped in your pores, softens blackheads, and primes your skin for treatment.
🌟 Top Benefits of Facial Steaming
✅ Opens up pores – Helps remove buildup, dirt, and oil
✅ Boosts blood circulation – Increases oxygen and nutrient delivery for a glow-up
✅ Hydrates skin naturally – Adds moisture without heavy products
✅ Enhances absorption – Preps your skin to soak in serums and masks
✅ Relieves sinus pressure – Bonus benefit if you’re feeling stuffy
🧖♀️ Step-by-Step: How to Steam Your Face at Home
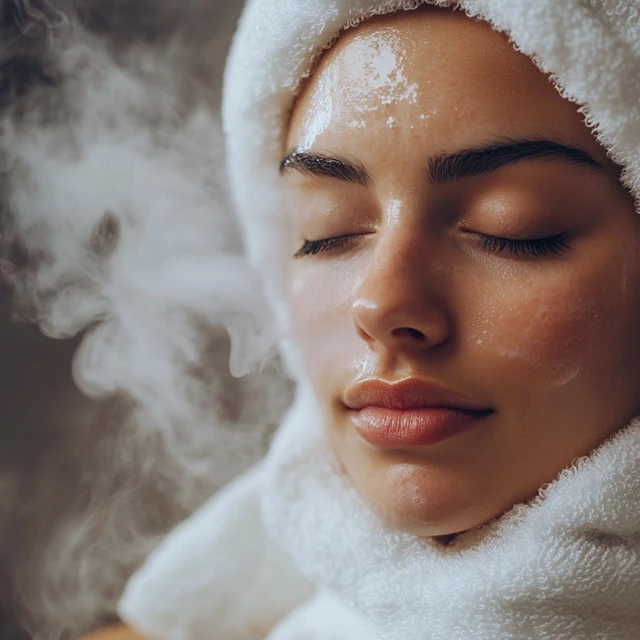
🔹 Step 1: Start With a Clean Face
Use a gentle cleanser to remove makeup, dirt, or sunscreen. Steaming over dirty skin can push impurities deeper.
👉 Try: [Gentle Cleanser Link]
🔹 Step 2: Boil Water + Set Up Steam
Bring water to a boil, then pour it into a heat-safe bowl. Add optional extras for added benefits:
- Green tea: calming and anti-inflammatory
- Chamomile: soothes sensitive skin
- Rose petals or lavender: for hydration and glow
- A few drops of essential oil (eucalyptus, tea tree, or rosemary)
💡 Using a facial steamer? Just fill it and let it heat up.
👉 Try: [Top-Rated Facial Steamer Link]
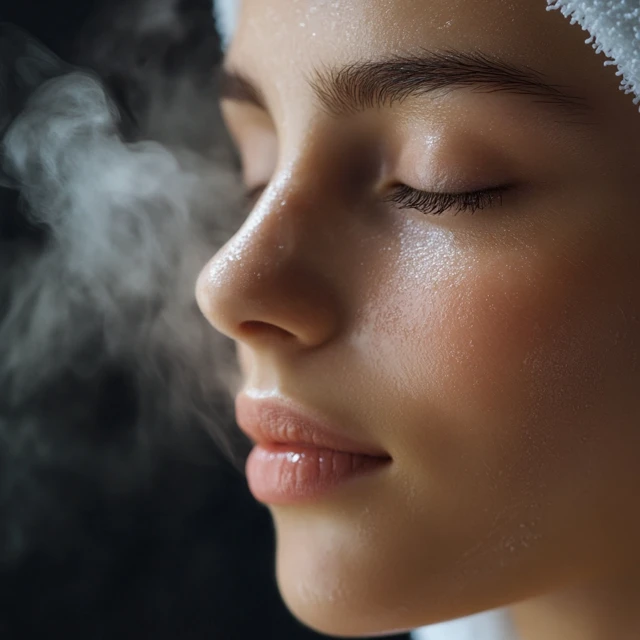
🔹 Step 3: Steam for 5–10 Minutes
Sit comfortably with your face 6–10 inches away from the steam. Drape a towel over your head to trap the steam. Close your eyes and breathe deeply.
⏱️ Do not exceed 10 minutes to avoid irritation.
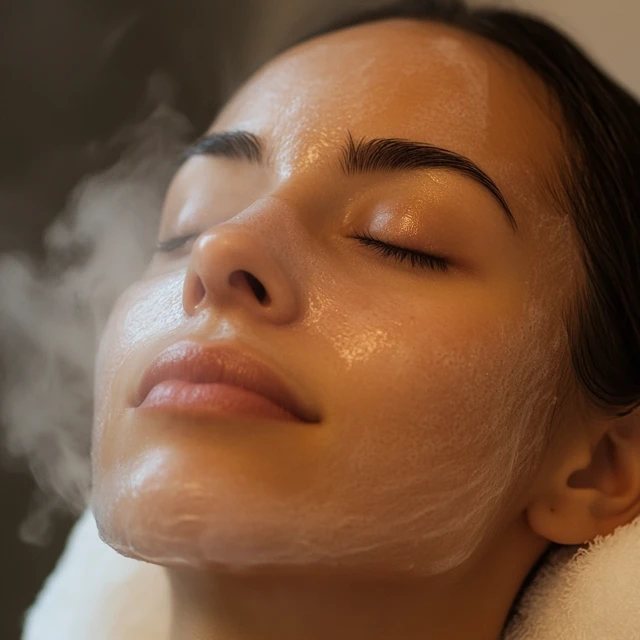
🔹 Step 4: Follow With Treatment or Mask
This is the best time to use a detoxifying mask, calming toner, or serum. Your pores are open and ready to absorb every drop.
👉 Try: [Clay Mask or Calming Serum Link]
🔹 Step 5: Finish With Moisturizer
Seal in all the hydration with a gentle, non-comedogenic moisturizer. For acne-prone or sensitive skin, use something with aloe, squalane, or ceramides.
👉 Try: [Hydrating Moisturizer Link]
⚠️ What to Avoid When Steaming
🚫 Getting too close to the steam – Can cause burns or irritation
🚫 Steaming for too long – Leads to over-drying or inflammation
🚫 Doing it too often – Once a week is enough for most skin types
🚫 Using essential oils directly on skin – Always infuse them in water
🚫 Steaming with active breakouts or rosacea – Can worsen irritation
💡 Sensitive skin? Do a shorter session (3–5 minutes) or skip steaming altogether.
🧴 Who Should Try Facial Steaming?
✅ Best for:
- Oily and combination skin
- Dull or congested skin
- Pre-mask or pre-extraction routines
❌ Skip or modify if you have:
- Rosacea
- Eczema
- Active cystic breakouts
- Extremely dry or sensitive skin
📥 Bonus: Download Our Free “At-Home Facial Steaming Guide”
Want to keep this routine handy? Get our printable guide with:
- Steam-safe herb/oil combos
- Step-by-step setup instructions
- After-steam skincare checklist
- Tips by skin type
👉 [Download the Facial Steaming Guide Here]
(Use this for email signups!)
✅ Final Thoughts: Steam Smart for Glowing Skin
Facial steaming is a simple, affordable, and super relaxing way to level up your skincare. When done properly, it clears, calms, and preps your skin like a pro facial would. Just don’t overdo it—and always follow with gentle, nourishing products.
📌 Save this post for your next self-care night
🛒 Shop our top picks for at-home facial tools → [Steamer + Mask Bundle Link]
💬 Have you tried facial steaming? Let us know your go-to add-ins in the comments!